Here in this post, I tried to explain the steps involved in Procure to Pay Cycle. This is a pure functional Stuff and helps you to understand the navigation steps.
I tried to keep as simple as Possible for clear understanding. The screenshots given below are taken from R12.1.1 apps instance.
Stage 1: Choosing an Item
Let us choose an item to be procured in our example.
Go to Purchasing Responsibility and follow the below navigation to check for the suitable item.


The item picked for our example should be purchasable item as above. Click on tools and choose “Categories” to view the below screen.

Stage 2: Creation of Requisition
Follow the below Navigation to reach Requisition Form.

Create a new Requisition for the item viewed in Stage 1.

Click on Distributions to View the charge Account.

Save and Submit for Approval

Now note down the Requisition number and open the “Requisition Summary Form” to view the status of it. For our Example, Requisition number is: 14855
Stage 3 : Checking the Status of Requisition


Stage 4 : Creation of Purchase Order
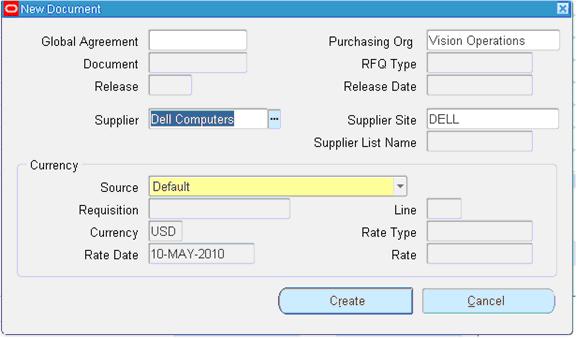
For creating a Purchase order, let us use the “Autocreate Documents” Form. Follow the below Navigation


Click on “Create” button to create a Purchase order


Click the “Receiving Controls” to make sure that the “Routing” is made as “Direct Routing”


Stage 5: Creation of Receipts

Query with the Purchase order created in the above stage.


Click the “Header Button” to view the Receipt Number.

Stage 6: Checking the On Hand

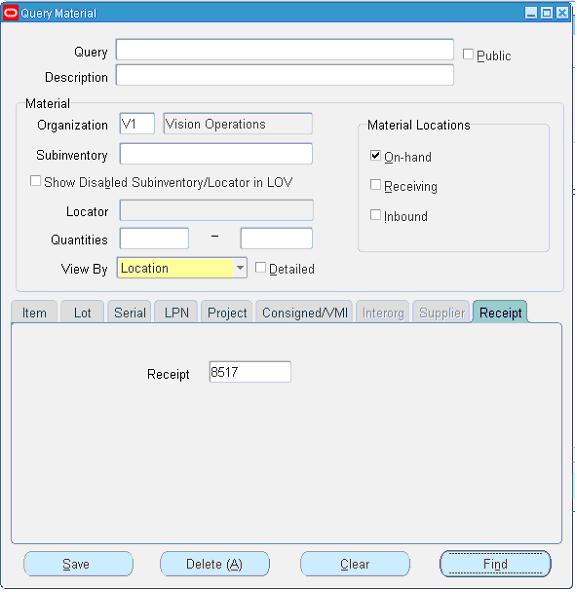

Stage 7: Check the Material Transactions
Follow the below Navigation to reach “Material Transactions” Form
Stage 8: Creation of Invoice
Navigate to any Purchasing Responsibility and view à Requests
Submit the below requests by providing the Receipt number as Parameter to create an invoice.

Check the status of the program.

Stage 9: Checking the Invoice
Change to any Payables Responsibility and open the invoices Form.
Query for the Purchase order as below,


Below screenshot will give you the status of the invoice

Stage 10: Creation of Accounting and Payment
Once invoice got approved, we can “Create Accounting” and “Create Payments” via “Action” Button in the “Invoice Form” as we validated the invoice.
Thus the brief description of P2P cycle came to end.
Thus the brief description of P2P cycle came to end.
can you please tell me that,how payments details are transferred to journal ledger,name of the concurrent program in r12
ReplyDeletethanq sir
ReplyDelete